

The following instructions refer to Freetouch v1.2 and above.
For v1.1 and earlier, click here.
Freetouch installs a System Tray application that provides access to the Control Panel to adjust Freetouch settings, and to manually exit Freetouch.
Opening the Control Panel
From the System Tray
- Locate the Freetouch icon in your System Tray

You may need to click the "^" (caret icon) to open the tray to locate the Freetouch icon. - Open the Control Panel
Right-click on the Freetouch icon and select "Configure Freetouch"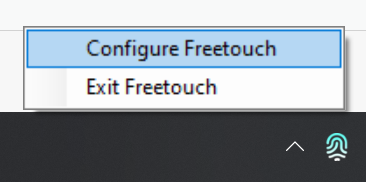
Via Keyboard Shortcut
You can open the Control Panel at any time by pressing Ctrl + Alt + Shift + F
Navigating the Control Panel
The Control Panel contains a series of tabs. On first run all tabs save for License Key, Support, and About will be disabled until you activate a free trial or subscription license.
Once activated, you will find three buttons at the bottom of the General, QR Code, Cursor, Scrolling and Keyboard tabs:
- Restore Defaults
This resets all configuration settings (except for the License Key) to the defaults that ship with Freetouch. - Undo Changes
This will revert any changes that have been made since the Control Panel was opened or since the last time Save & Restart was clicked. - Save & Restart
Hit Save & Restart to commit your changes and reload the Freetouch application. This is useful when you are trying to position the QR code properly on the screen - simply make an incremental change to a value and hit Save & Restart to see how it shows up onscreen.
First Run Configuration
- Activate a Free Trial or a Subscription License
On first run, the Control Panel will open to the License Key tab. To start a Free Trial, enter your email address and click Start Free Trial. If you have a valid subscription license key, enter it into the corresponding field and click Activate Subscription.
The system will connect to the licensing server to activate your license (internet connectivity required).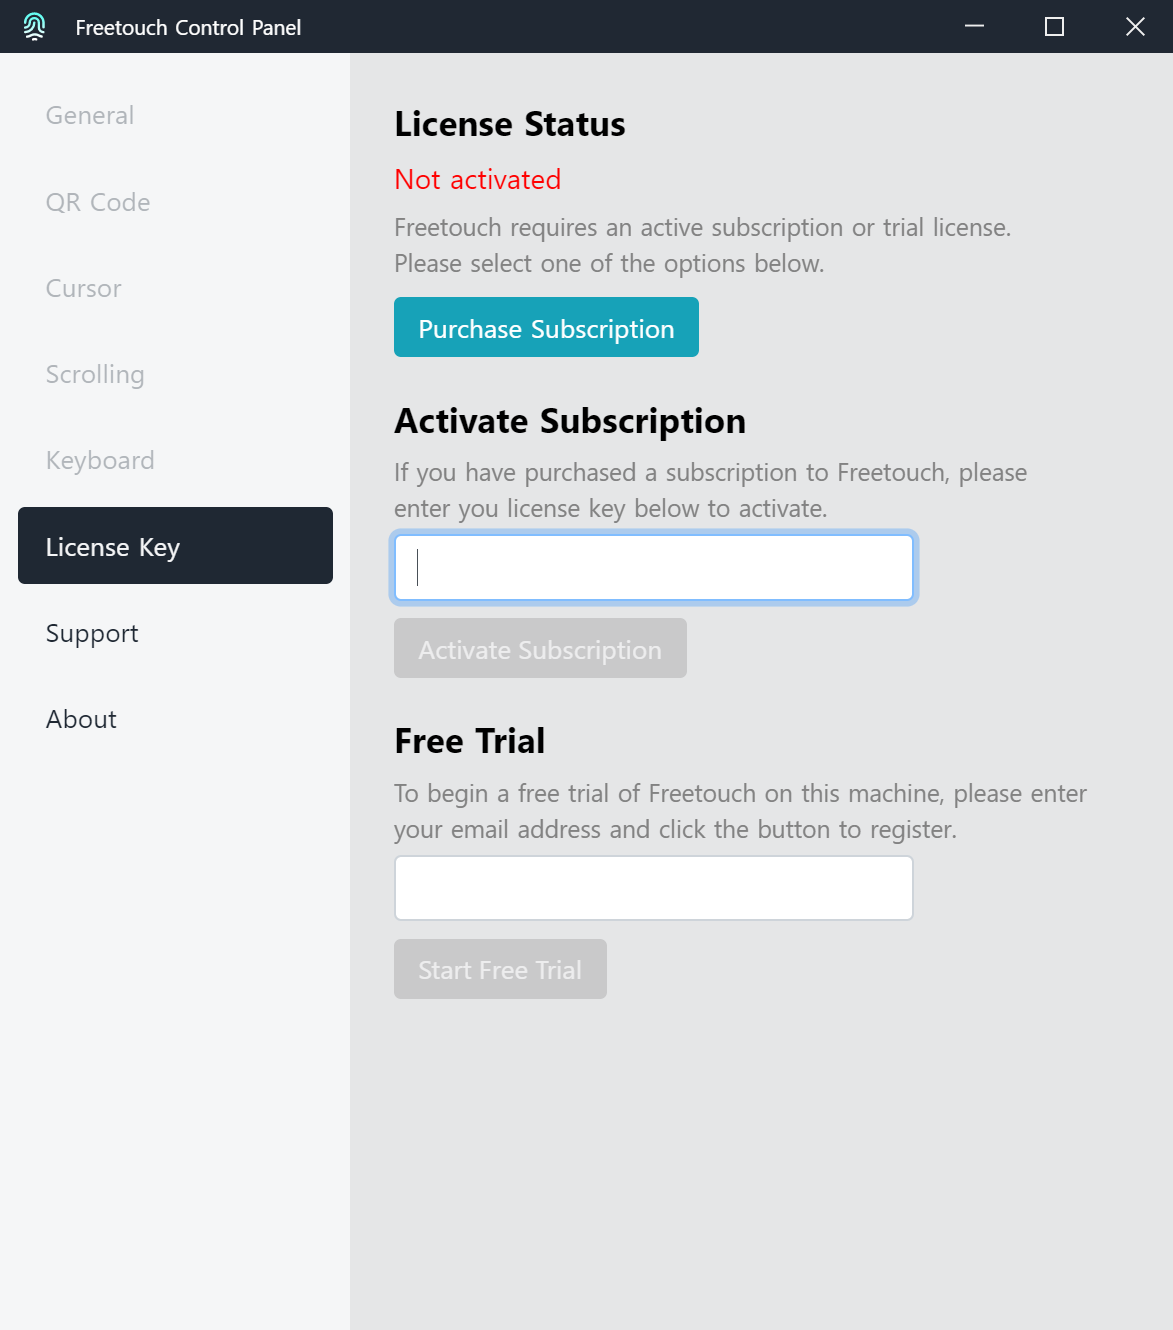
Once activated, the other tabs will become active and the License Key tab will display the status of your license: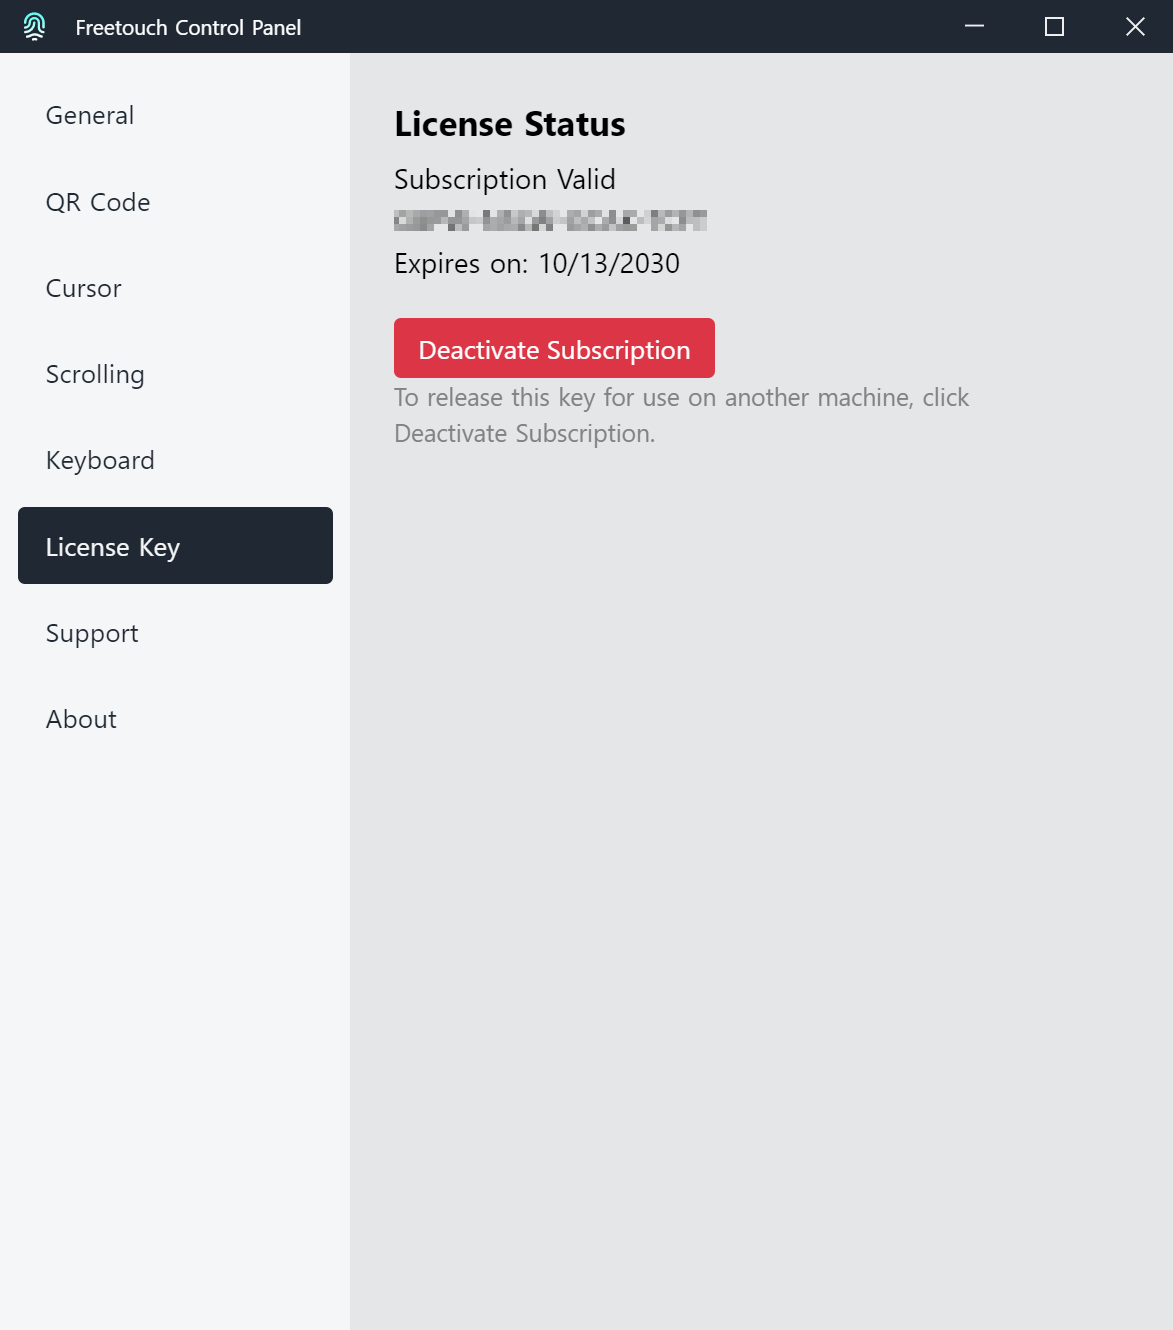
General Configuration
General
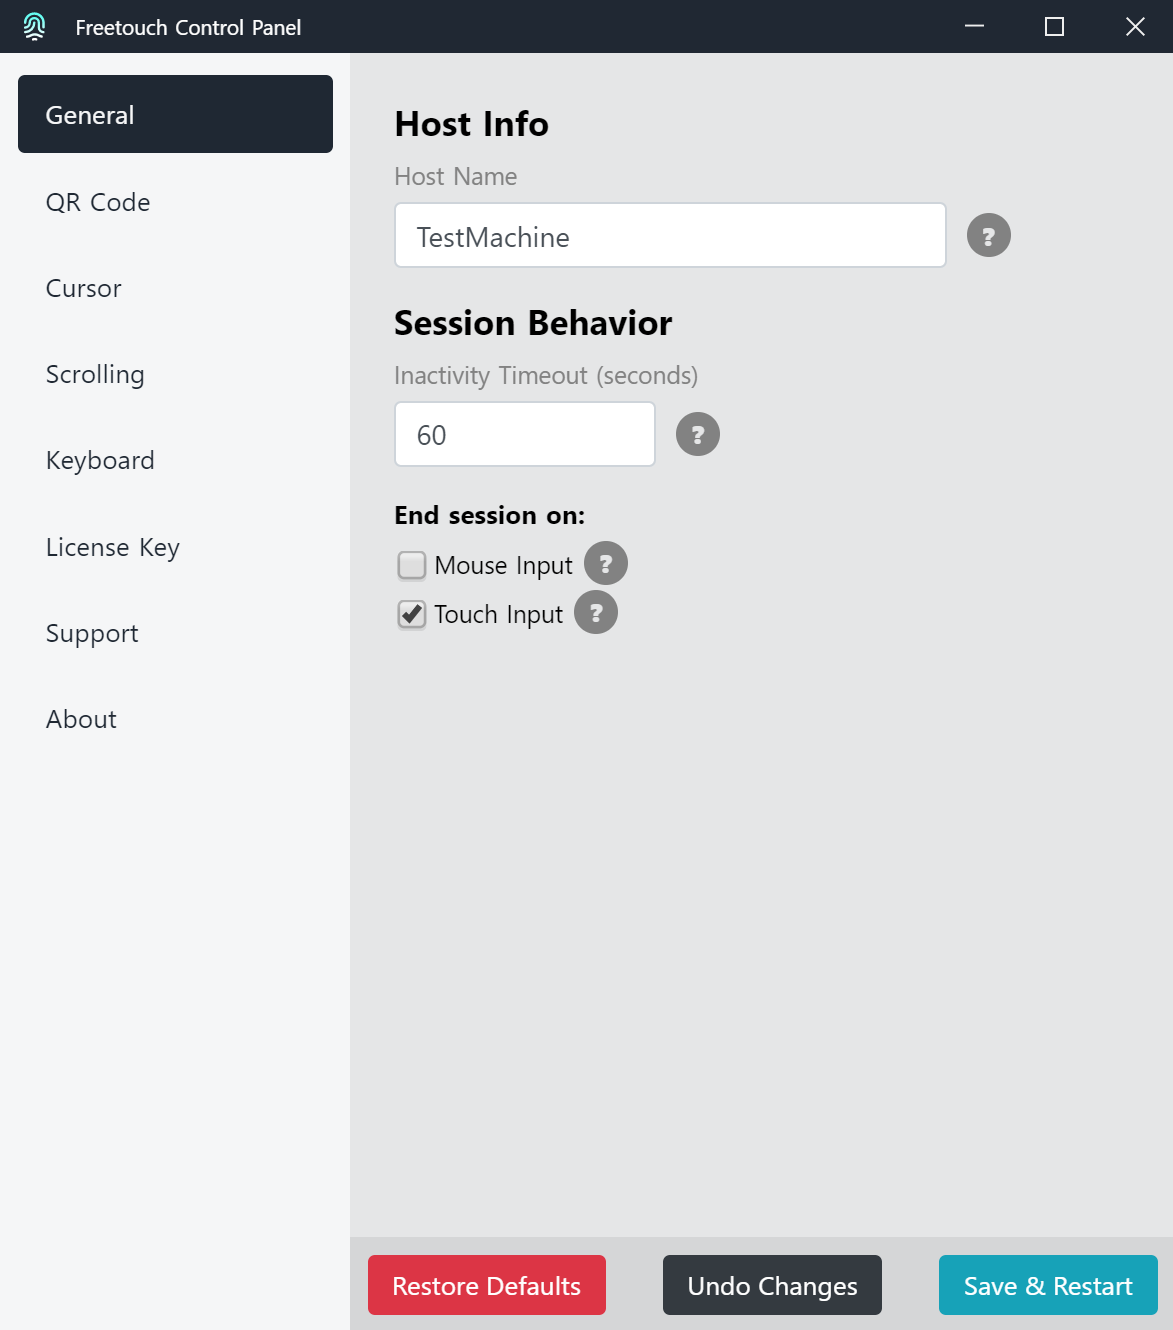
The General tab controls the Host Name and Session Behavior
Host Name
Enter a Host Name
Enter a unique Host Name for this machine if desired. This will be used to help the identify this machine if troubleshooting is required. The default value is the Windows machine name/hostname.
Session Behavior
The Inactivity Timeout sets the numbers of seconds of user inactivity before a Freetouch session is automatically disconnected. The default time is 60 seconds.
End Session on Mouse Input and End Session on Touch Input allow you to configure how a Freetouch session can be interrupted.
- End Session on Mouse Input
- If enabled, active Freetouch sessions will be cancelled if the system receives input from a physically-connected mouse. When unchecked, a Freetouch session will continue if mouse input is detected, which makes possible simultaneous control by Freetouch and a mouse. The default setting is enabled.
- End Session on Touch Input
- If enabled, active Freetouch sessions will be cancelled if the system receives direct touch input. When unchecked, a Freetouch session will continue if touch input is detected, which makes possible simultaneous control by Freetouch and a touchscreen. The default setting is enabled.
QR Code
The QR Code tab controls where and how the QR code is displayed.
Single Display Systems
If you only have a single display connected to the machine, or you have a multi-display system configured as a single large desktop (e.g. NVIDIA Mosaic, et al), the QR Code tab will look like this: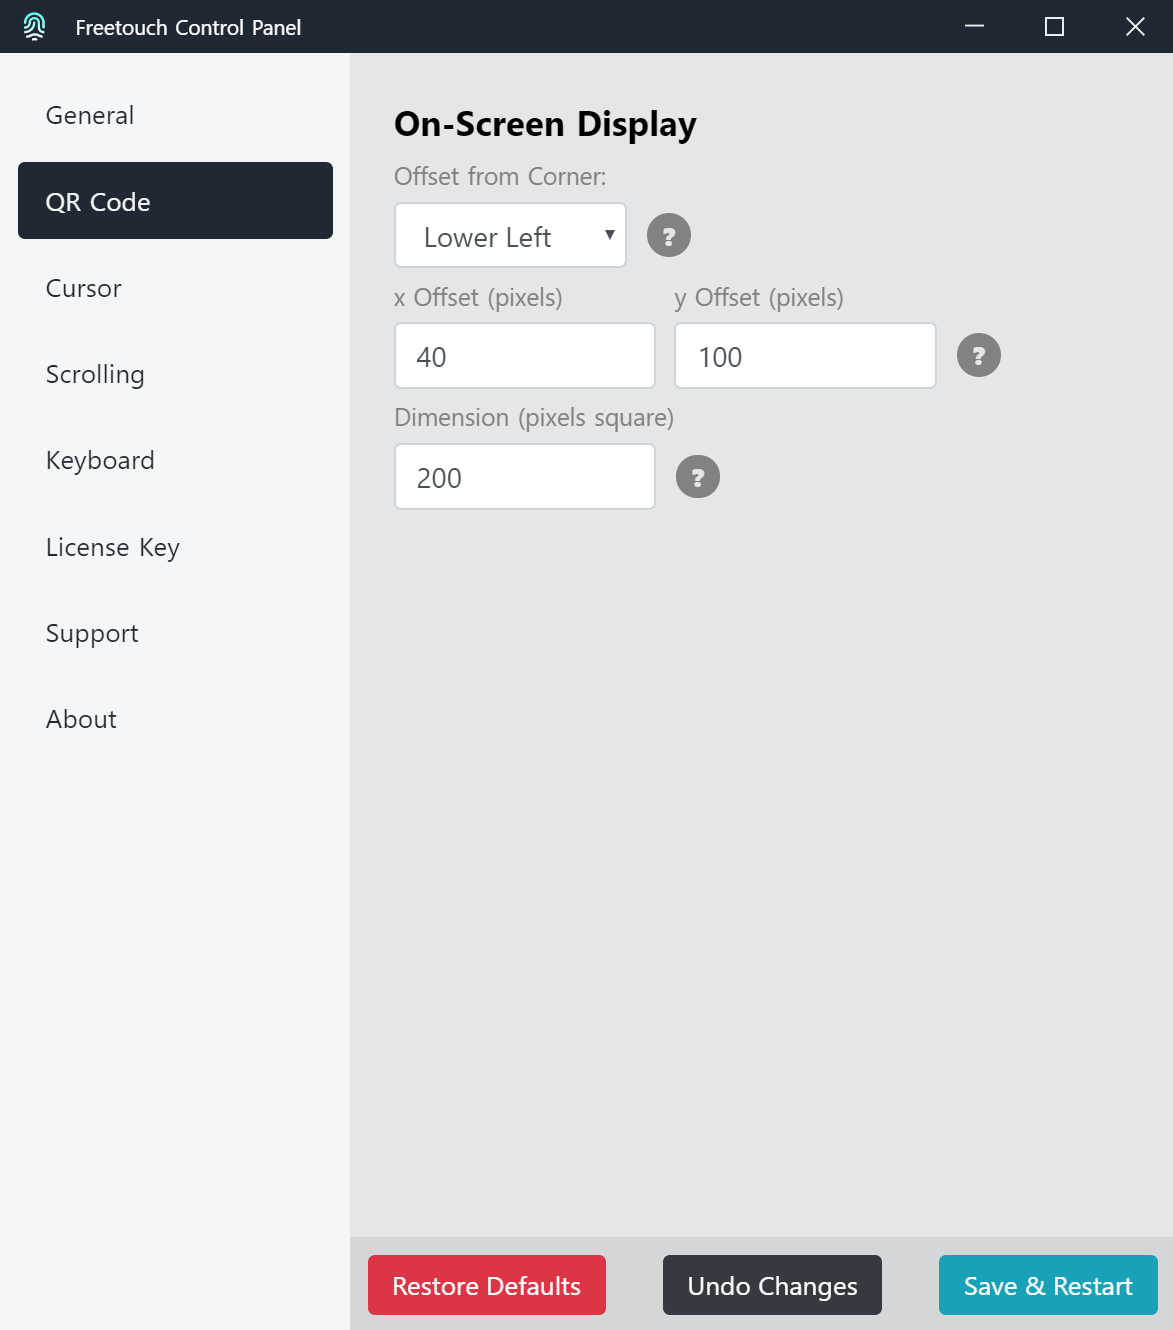
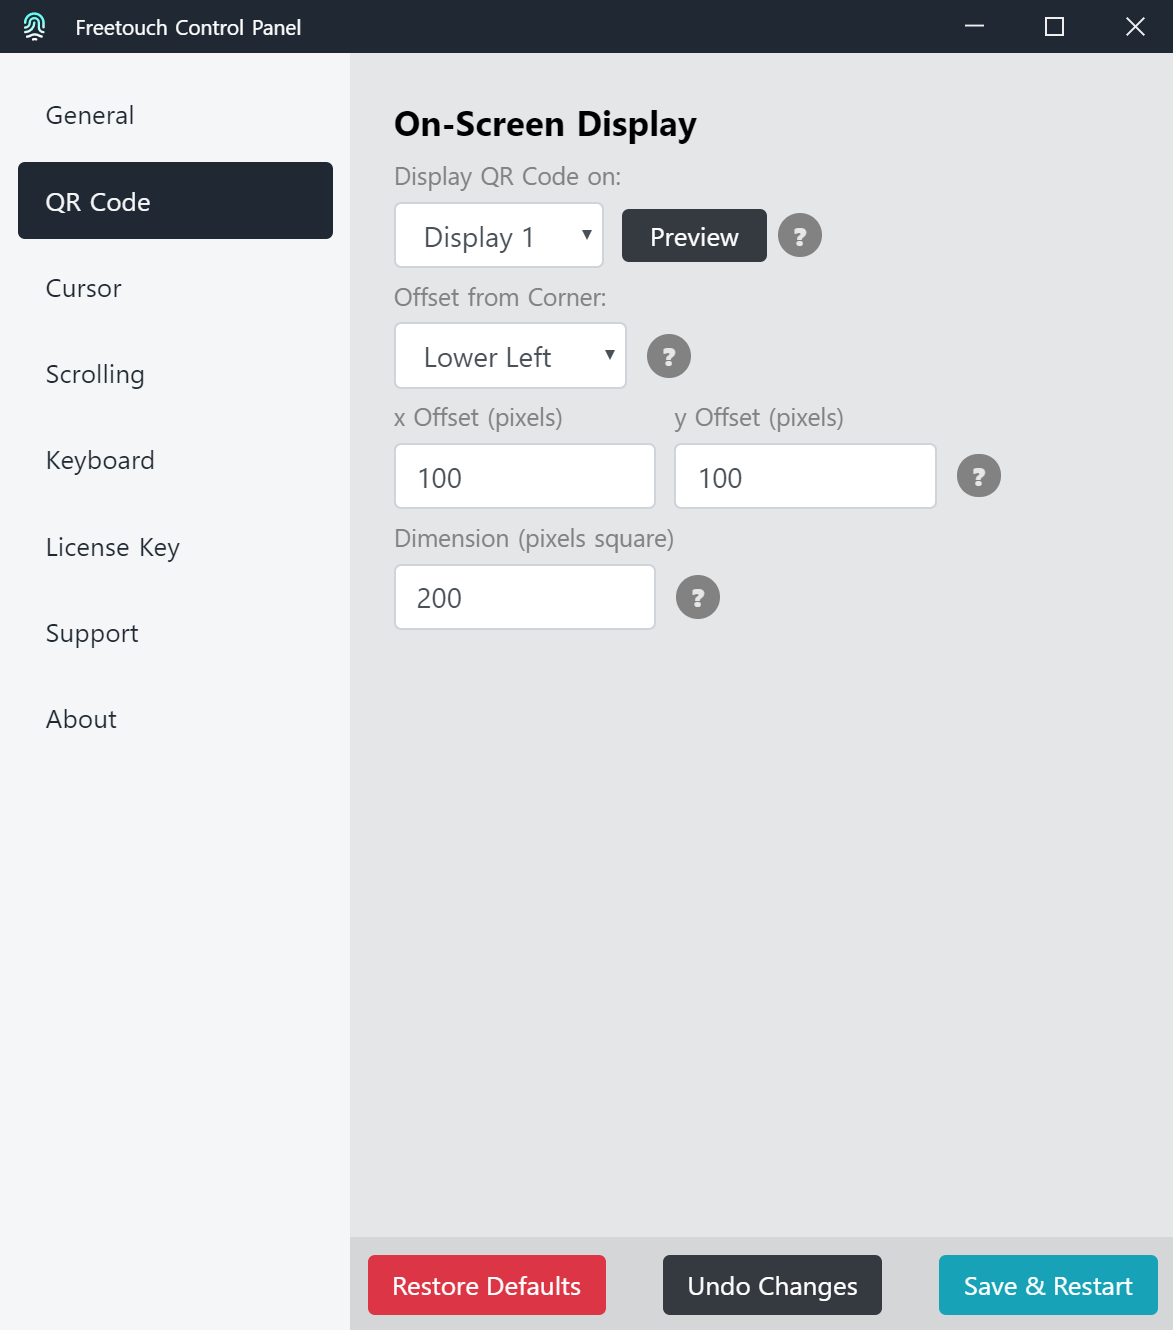
Multi-Display Systems
If there are multiple displays connected to your system, the QR Code panel will have an additional pulldown option (Display QR Code on:)
Onscreen QR Code
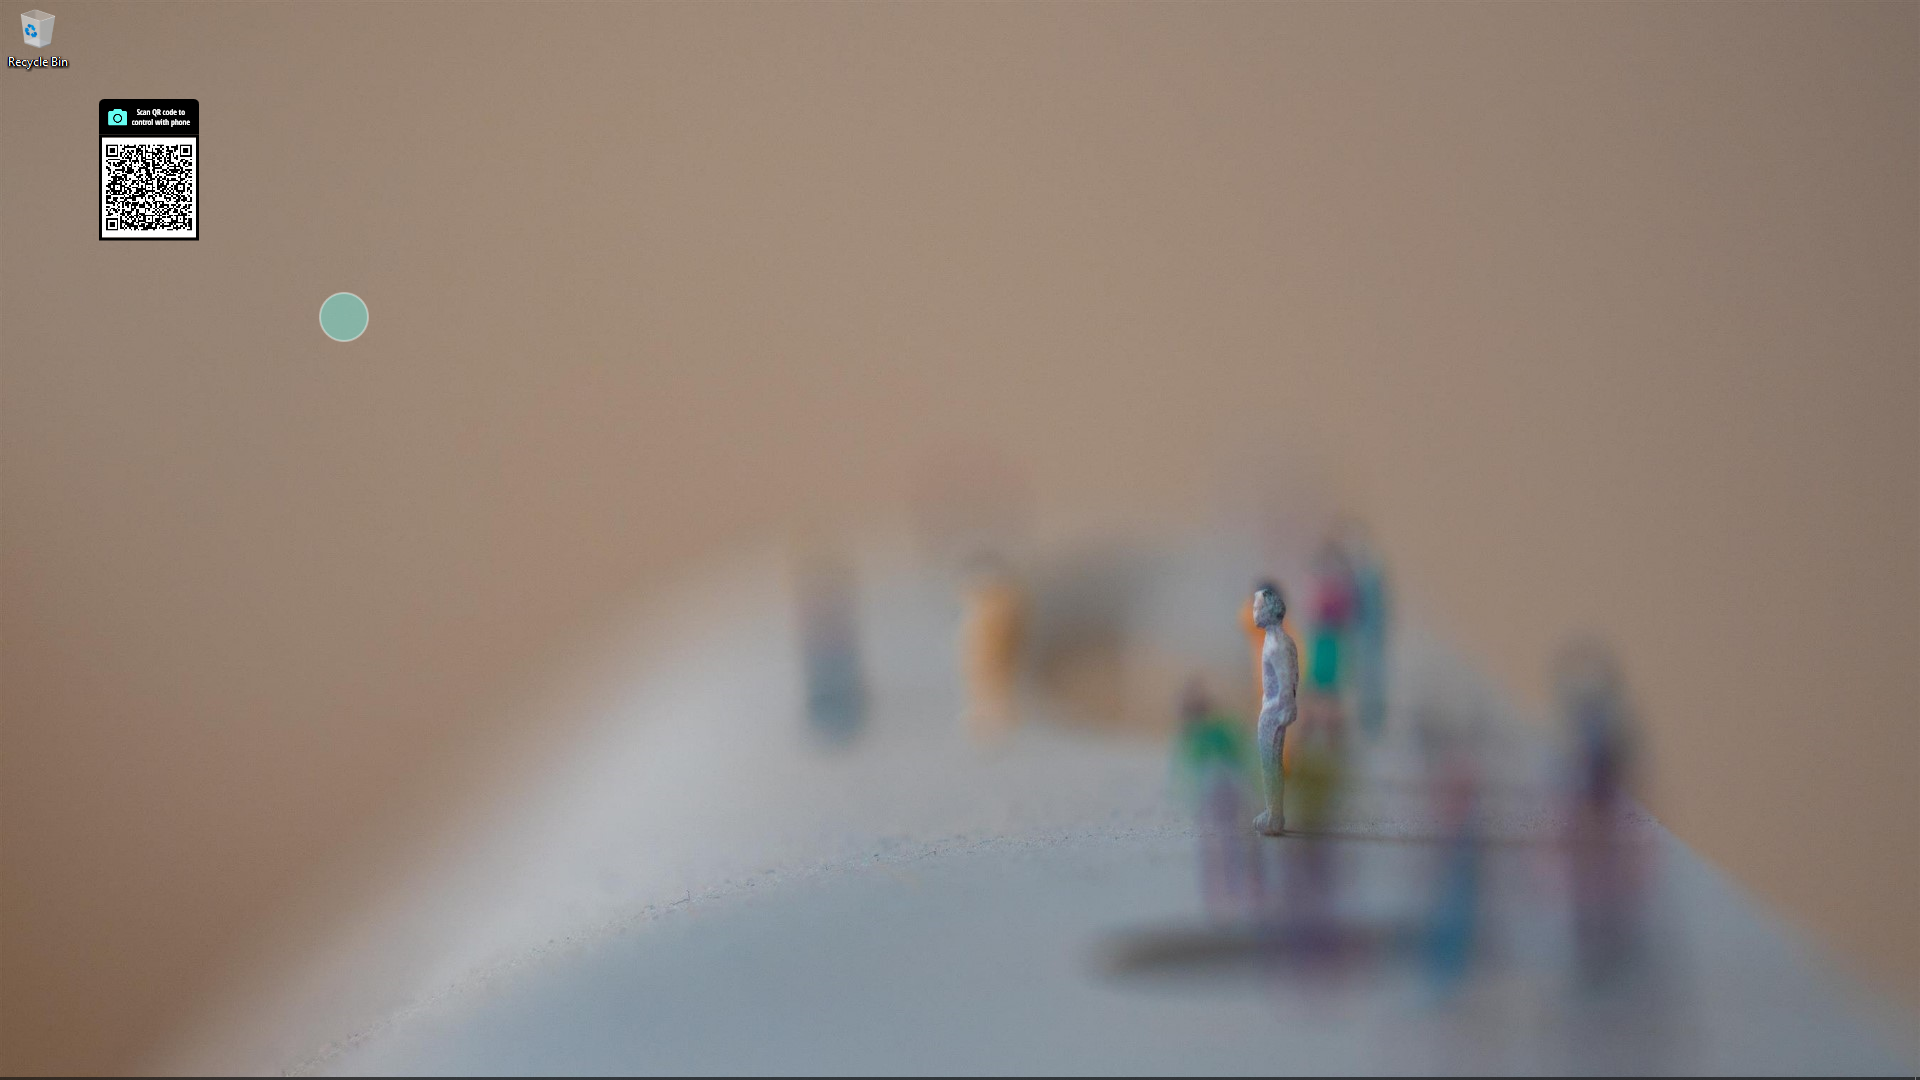
Freetouch produces a QR code which users can scan to initiate contactless control of a touchscreen. When first installed, this QR code will appear by default positioned in the top left corner of the screen.
For multi-display systems:
First, select the display on which to display the QR code. Click "Preview" to cause the selected display ID to highlight. (NOTE: these may not match the display numbering in the Windows Display preferences dialog)
For all systems:
To move the QR code to another position on the screen, change the values in the Offset from Corner, x Offset and y Offset fields. The numbers in these fields correspond to the QR Code's distance (in pixels) in the horizontal (X position) and vertical (Y position) from the selected corner of the display.
The default QR code position will be 100 pixels from the top and 100 pixels from the left, as shown below on a 1920x1080 display:
To save the changes, click Save & Restart. The QR code will disappear as the program restarts, and reappear in its new position.
NOTE: The numbers entered in the X and Y Position Fields must be bigger than zero and smaller than the total number of pixels in the width and height of your screen. If a number is entered which is greater than the screen's resolution, the QR code may not appear, or only partially appear, on the screen. In this case, reduce the numbers in the X and/or Y position, updating and restarting each time, until the QR code appears in the desired position on the screen.
PRO TIP: Because different displays potentially have different resolutions and it is possible to use different Display Scaling values in Windows, the same values in the X and Y position may place the QR code in a different place on different touchscreens. Be sure to check the QR position on each machine to ensure appropriate position!
QR Code Dimension
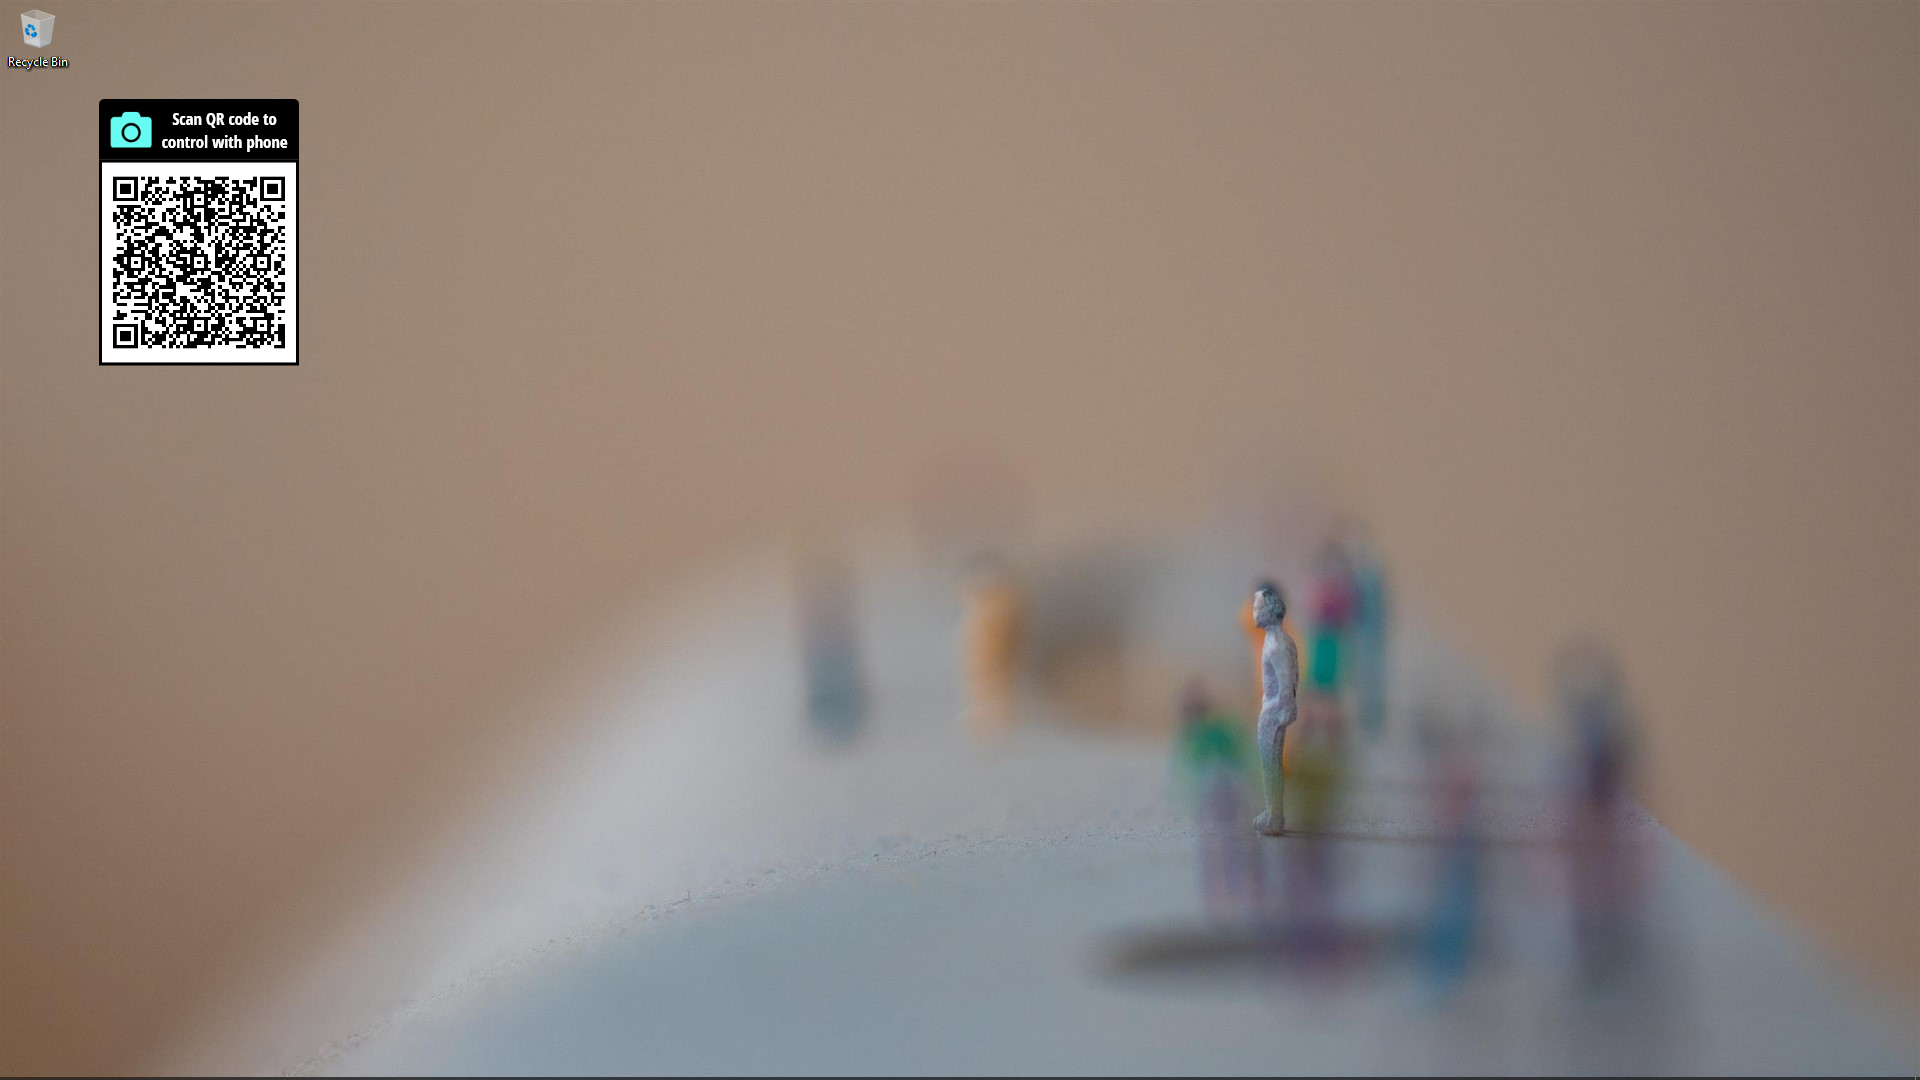
The default QR code is a square that measures 200 x 200 pixels.
On a 1920x1080 resolution screen with 100% scaling, the default QR code will look like this:
To change the size of this square, enter a new number in the QR Code Dimension field.
Click Save & Restart. The QR code will disappear as the program restarts, and reappear at its new size.
On a 1920x1080 resolution screen, a QR code with a dimension of 100 will look like this:

NOTE: Windows Display scaling settings will affect the size of the QR Code. If your display is not set to 100% the scale of the QR Code will be impacted by the scale value. It is fine if this is not set to 100%, but be aware that this will mean that pixel values are not 1-to-1.

|
IMPORTANT In order to ensure that the QR code can be scanned by a smartphone, it must be at least 1 inch (or 30 mm) in physical dimension on the display. Be sure to test that the QR code can be scanned with a smartphone before finalizing your settings. |
Cursor
The Cursor tab controls where and how the Freetouch cursor appears.
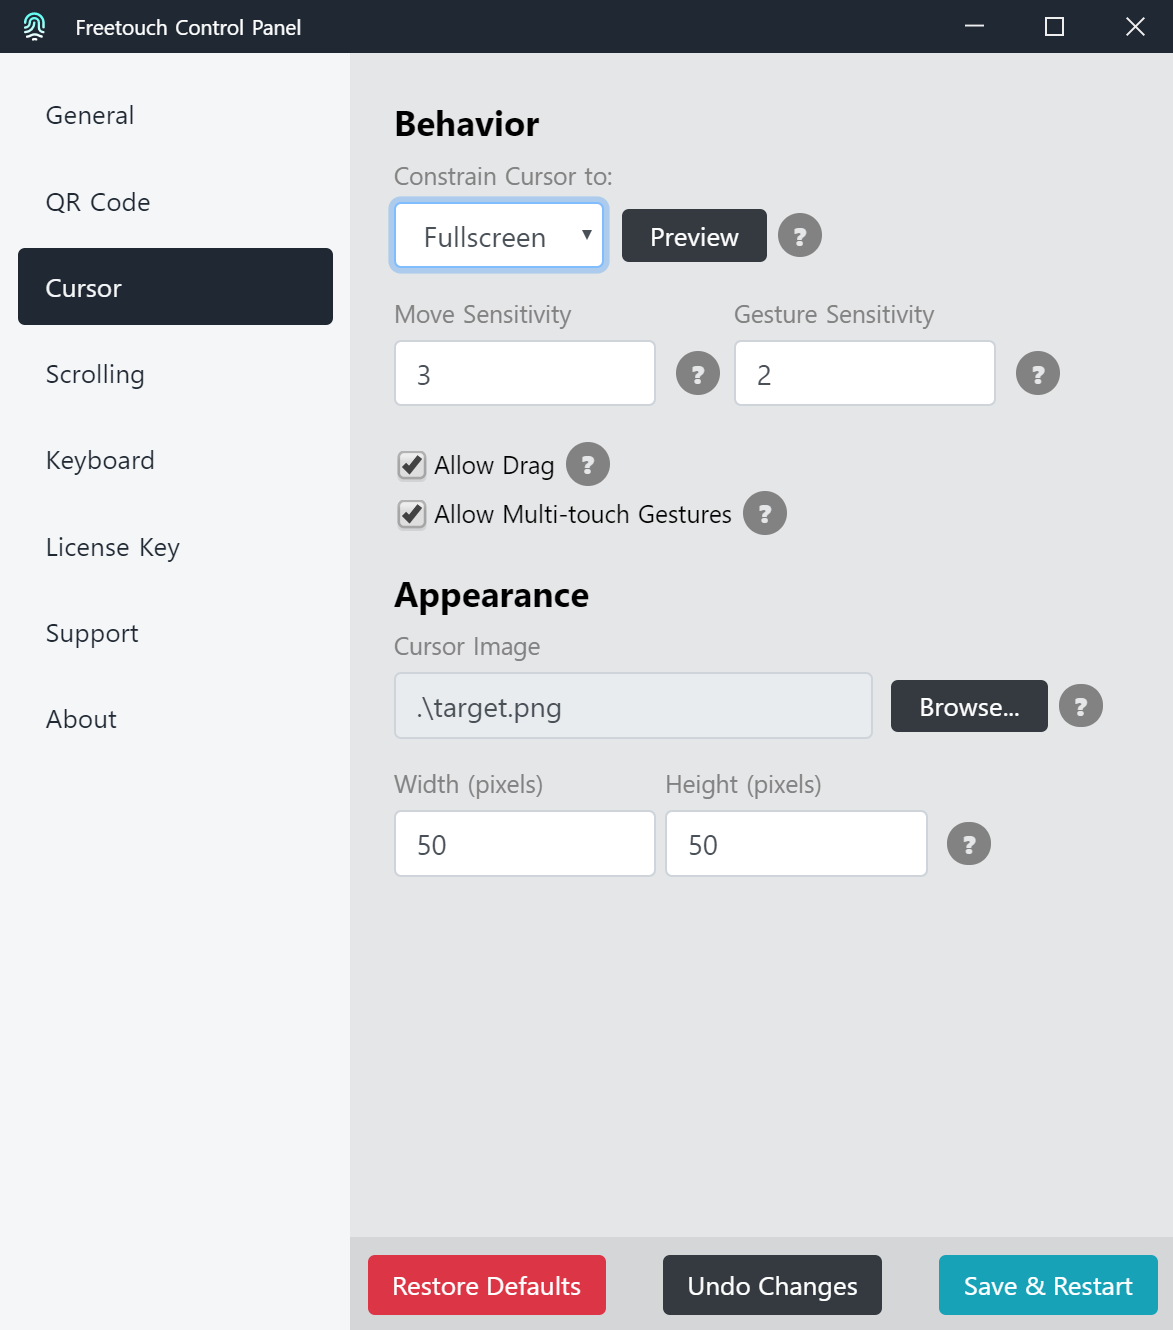
Multi-Display Systems:
Constraining the cursor to a specific display
To constrain the cursor to a display, select the appropriate display from the Constrain Cursor to: pulldown menu. Click "Preview" to cause the selected display ID to highlight. (NOTE: these may not match the display numbering in the Windows Display preferences dialog)
All Systems:
Move Sensitivity
Move Sensitivity is the speed at which the on-screen cursor moves relative to user input on the phone. The default value is 3.
- If the cursor is moving too quickly on the Host PC relative to input on the mobile device, lower this number (decimals allowed)
- If the cursor is moving too slowly on the Host PC relative to input on the mobile device, raise this number (decimals allowed)
Speed Sensitivity
Speed Sensitivity is the sensitivity of on-screen multi-touch gestures (i.e. pinch-zoom, two-finger swipe-to-scroll) relative to user input on the phone. The default value is 2.
- If the pinch-zoom gesture is scaling too quickly on the Host PC relative to input on the mobile device, lower this number (decimals allowed)
- If the pinch-zoom gesture is scaling too slowly on the Host PC relative to input on the mobile device, raise this number (decimals allowed)
Allow Drag
When checked, enables the drag gesture. The default is enabled.
On a smartphone the drag gesture is: touch and hold until the cursor icon changes to a hand, then drag to move an on-screen element.
Allow Multi-touch Gestures
When checked, enables multi-touch gestures. The default is enabled.
Freetouch Help Centers multi-touch gesture input (i.e. pinch-zoom, two-finger swipe-to-scroll) for multi-touch applications. Users can pinch two fingers together to zoom in, or spread two fingers apart to zoom out. When the user uses two fingers on their phone, a second Freetouch cursor will appear on the screen to mirror the user's movements.
|
NOTE Freetouch does not add pinch-zoom and/or swipe-to-scroll gesture recognition for applications which do not already support this functionality. For applications with single touch functionality only, uncheck this box to prevent the second cursor from appearing. This will help avoid user confusion. |
Changing the cursor appearance
The default Freetouch cursor is a blue circle. To visualize the cursor, launch the Freetouch application on a smartphone following the steps in "scanning QR codes." Once the Freetouch application has successfully started, the cursor will appear on the touchscreen.
Using a custom cursor image:
The cursor may be replaced with an image file stored in PNG-24 (.png) format. Transparency is supported.
To replace this cursor with a custom image, click the Upload Custom Image button. Browse the local computer filesystem until the desired image is located, then click Upload.
Click Save & Restart. After the QR code returns, start a Freetouch session from a smartphone to check the appearance of the new cursor.
Freetouch recommends an image with square dimensions (same height and width) at 72ppi.
Changing the cursor size:
The default size of the Freetouch cursor is 50 x 50 pixels
To change the size of the cursor (default or custom), enter a new number in the Cursor appearance width and height fields. Click Save & Restart. After the QR code returns, start a Freetouch session from a smartphone to check the size and appearance of the new cursor.
|
NOTE Enlarging the cursor image to a size that is bigger than its native image resolution will cause a jagged/blurry appearance. If you need the cursor to be bigger, use an image file at the desired resolution. |
PRO TIP
The cursor should be easily visible against any content the user may encounter on the touchscreen. Consider adding a black or white shadow behind any custom image to ensure it appears clearly.
Scrolling
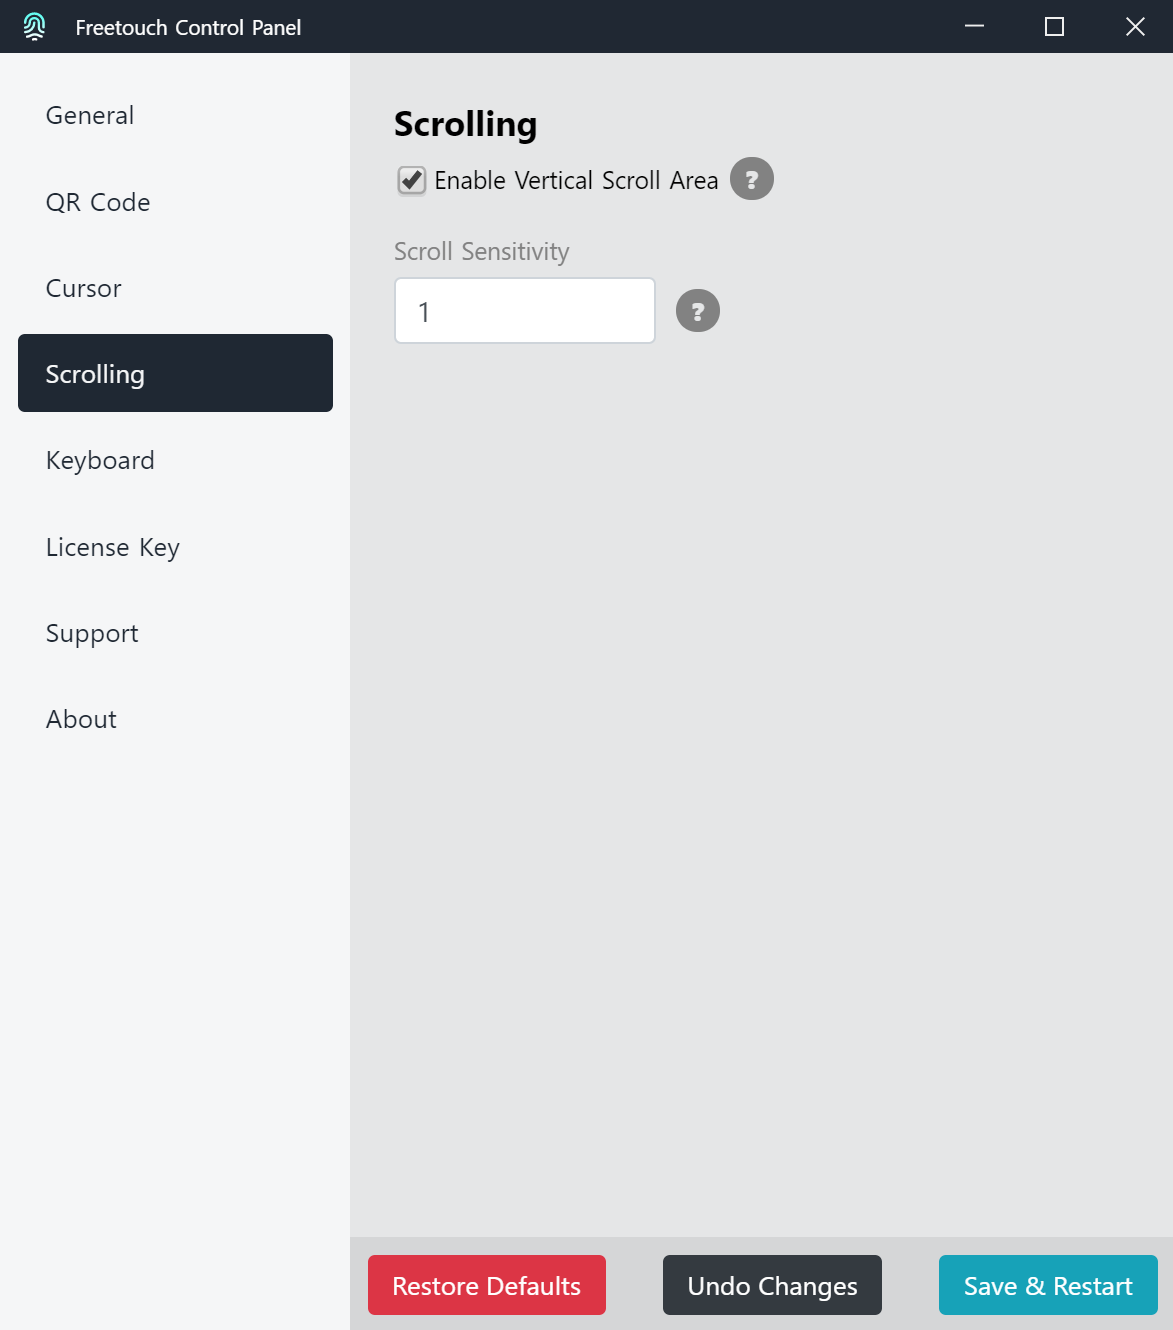
When enabled, Freetouch displays a vertical scrollbar on the right-hand side of the screen. This emulates the scrollwheel on the host system. For applications that support scrollwheel input (browser-based applications, et al), dragging and/or swiping up and down on the scrollbar on the mobile web client will scroll the application on the host system.
Scroll Sensitivity
Adjusts the sensitivity of swipes on the scroll area. To invert the scroll direction, use a negative number. A value of 0 will disable scroll interactivity.
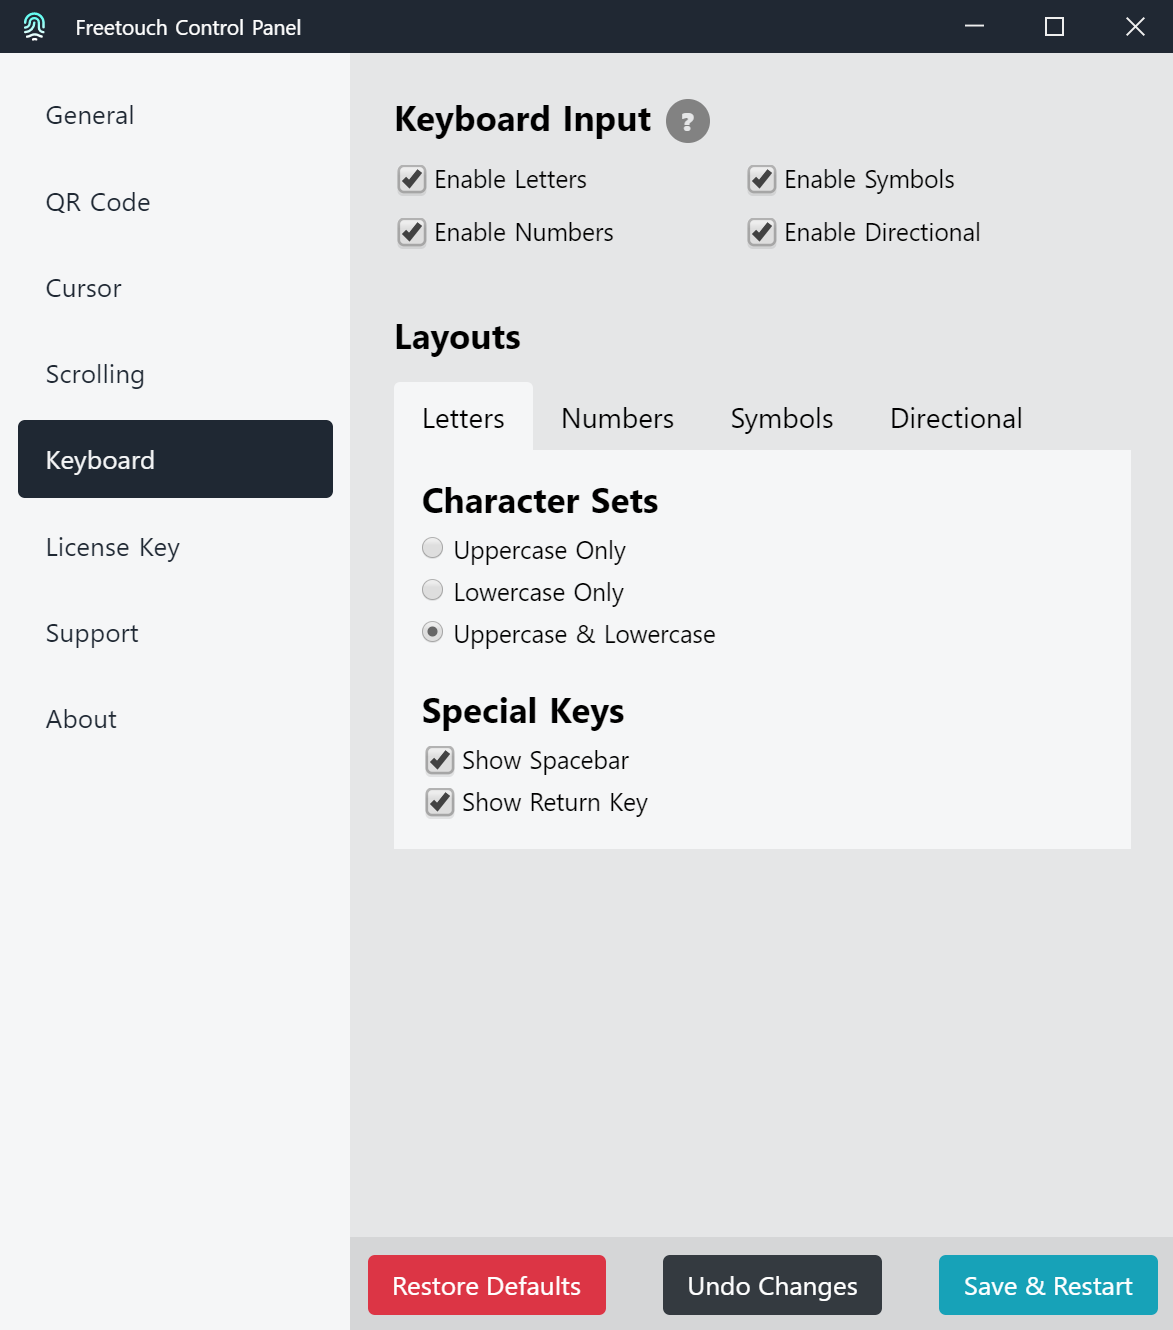
Keyboard
Freetouch Help Centers 4 different keyboard layouts for character input on the web client. Use the checkboxes and corresponding tabs below to enable different keyboards on the web client.
|
IMPORTANT Keyboard input requires that your application can also accept keyboard input from a physical keyboard (i.e. text entry works with a keyboard attached to the host system). To use the keyboard, end users will first need to move the virtual cursor and tap within a text field to set focus, and then tap 'show keyboard' on the web client to display the keyboard to type. |
Letters
Numbers
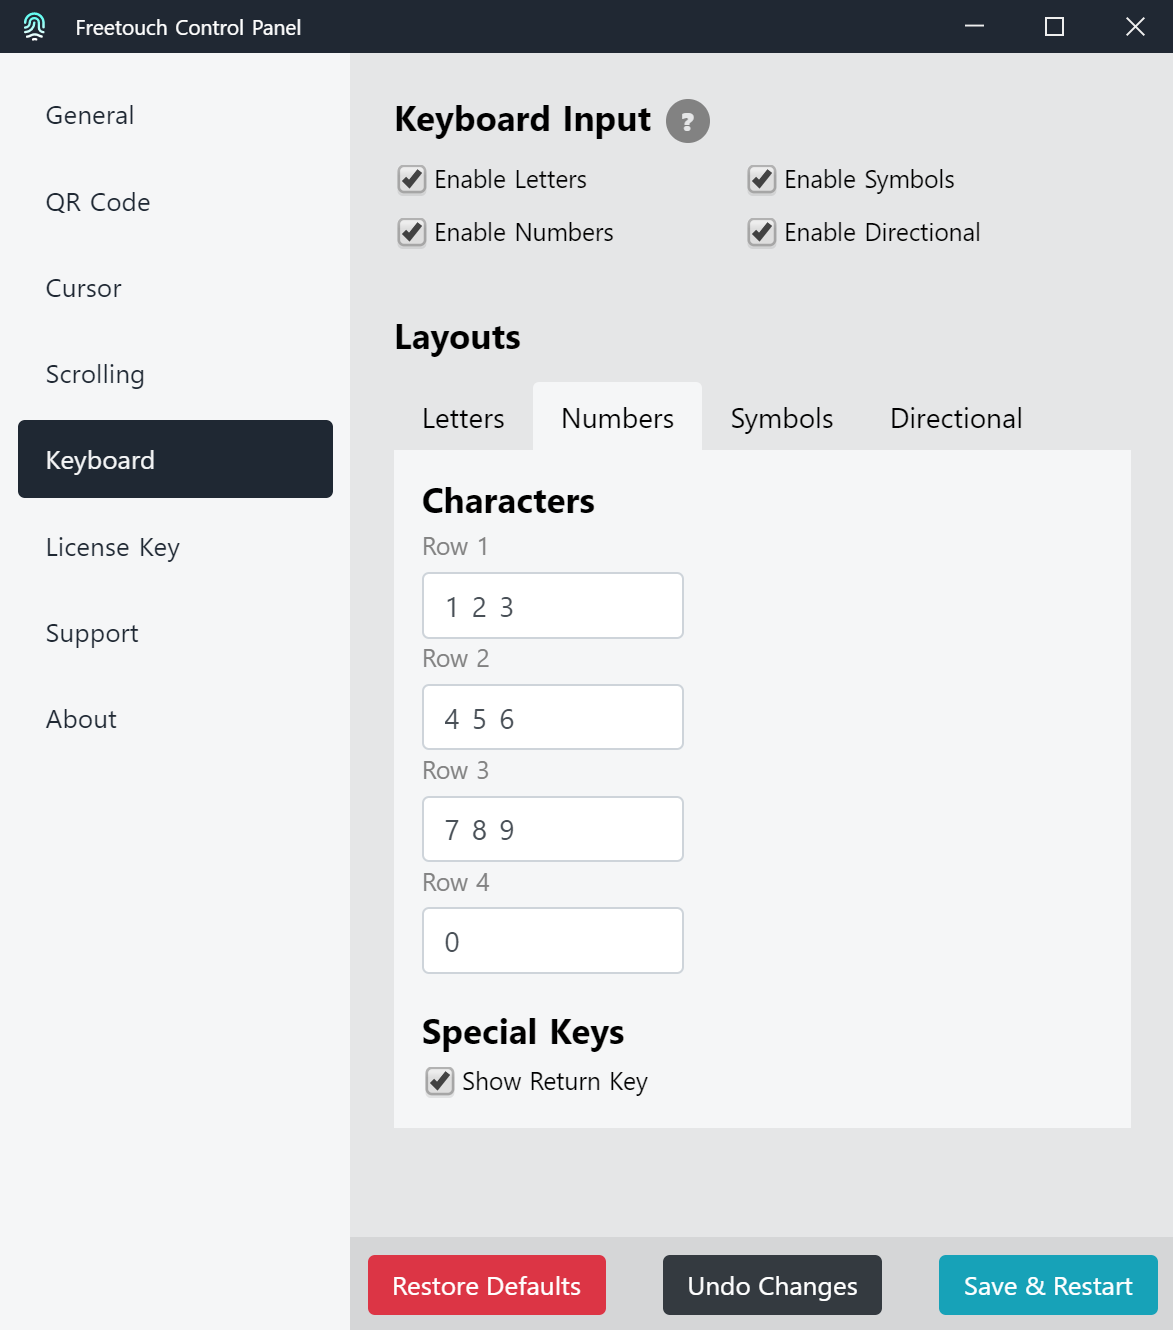
The Numbers keyboard layout can be customized - simply enter the numbers or characters to be displayed on the web client, by row.
Symbols

The Symbols keyboard layout can be customized - simply enter the characters to be displayed on the web client, by row. An example customization: a host system only accepts email addresses, so the available symbols would be modified to only allow symbols that are valid for email addresses.
Directional Keys

The Directional keyboard provides arrow keys and PgUp/PgDn keys, which can be used to control presentations, et al.
Support
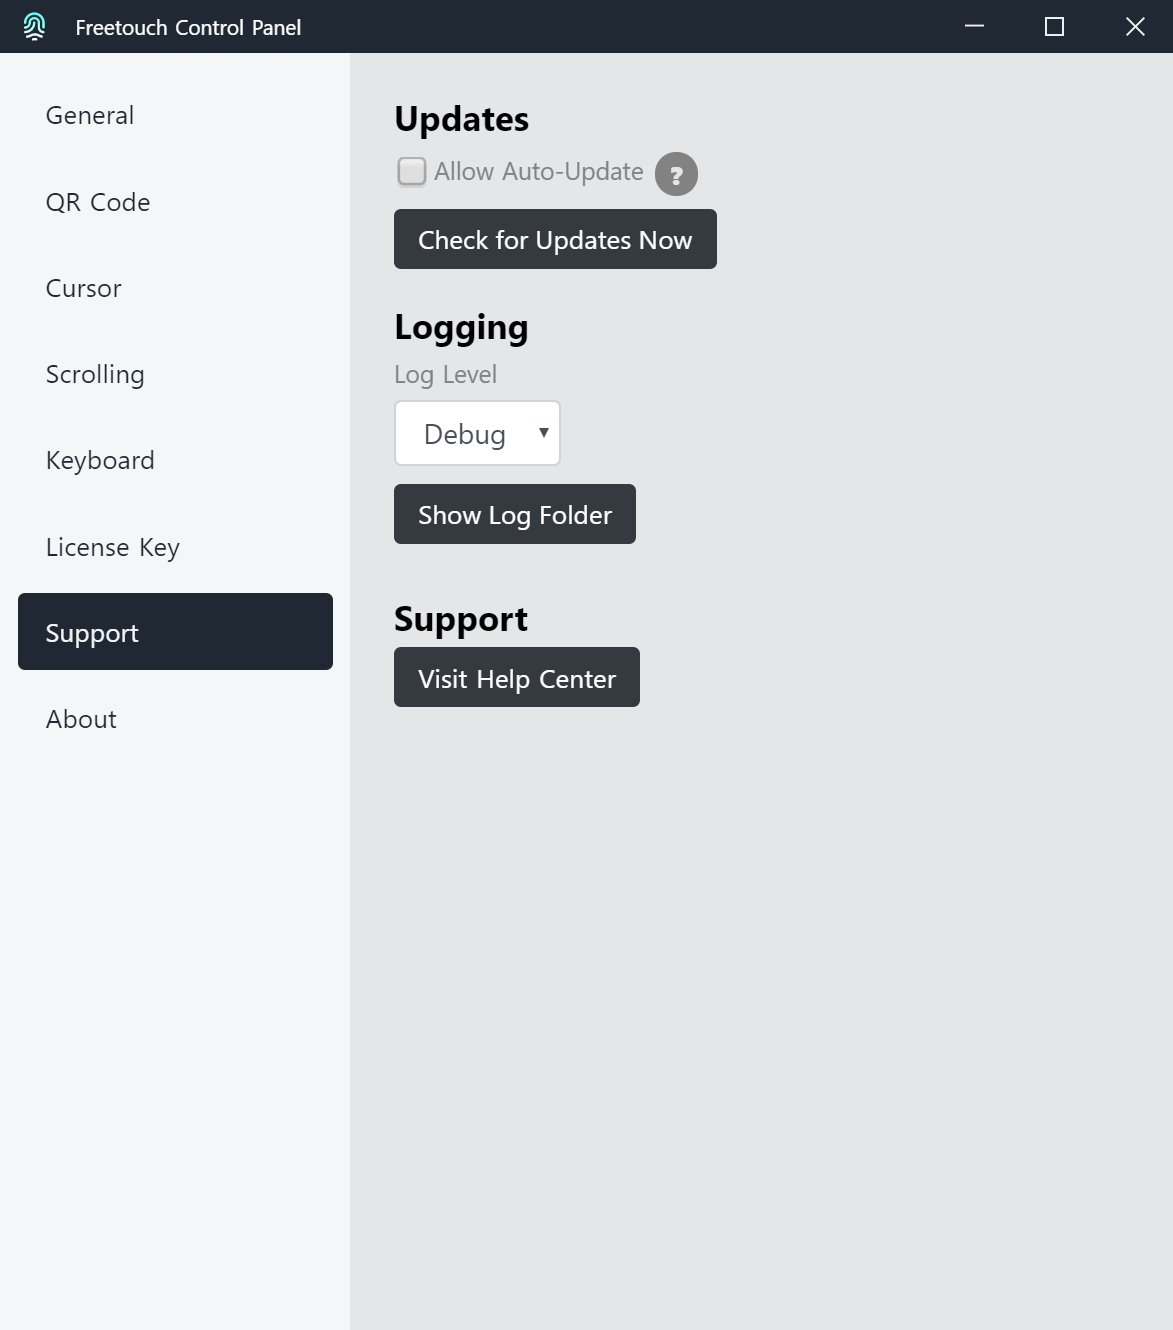
Updates
If Allow Auto-Update is checked, FreeTouch will automatically check for updates on application startup and at 3 a.m. every night. If an update is available, it will be installed automatically. Un-check this to disable auto-updating. Note: Changing this setting may require the control panel to re-launch as an 'elevated' user.
The default setting is configured during software installation.
To manually check for and install updates, click the "Check for Updates Now" button. If an update is available, click "OK" in the update dialog to proceed.
Logging
Leave Logging set at "Info" unless otherwise directed by Freetouch to aid in debugging issues.
Show Log Folder
The Show Log Folder button will cause Windows Explorer to launch a window containing the Freetouch log file folder.
Visit Help Center
The Visit Help Center button will launch a web browser which will display the Freetouch Help Center home page.
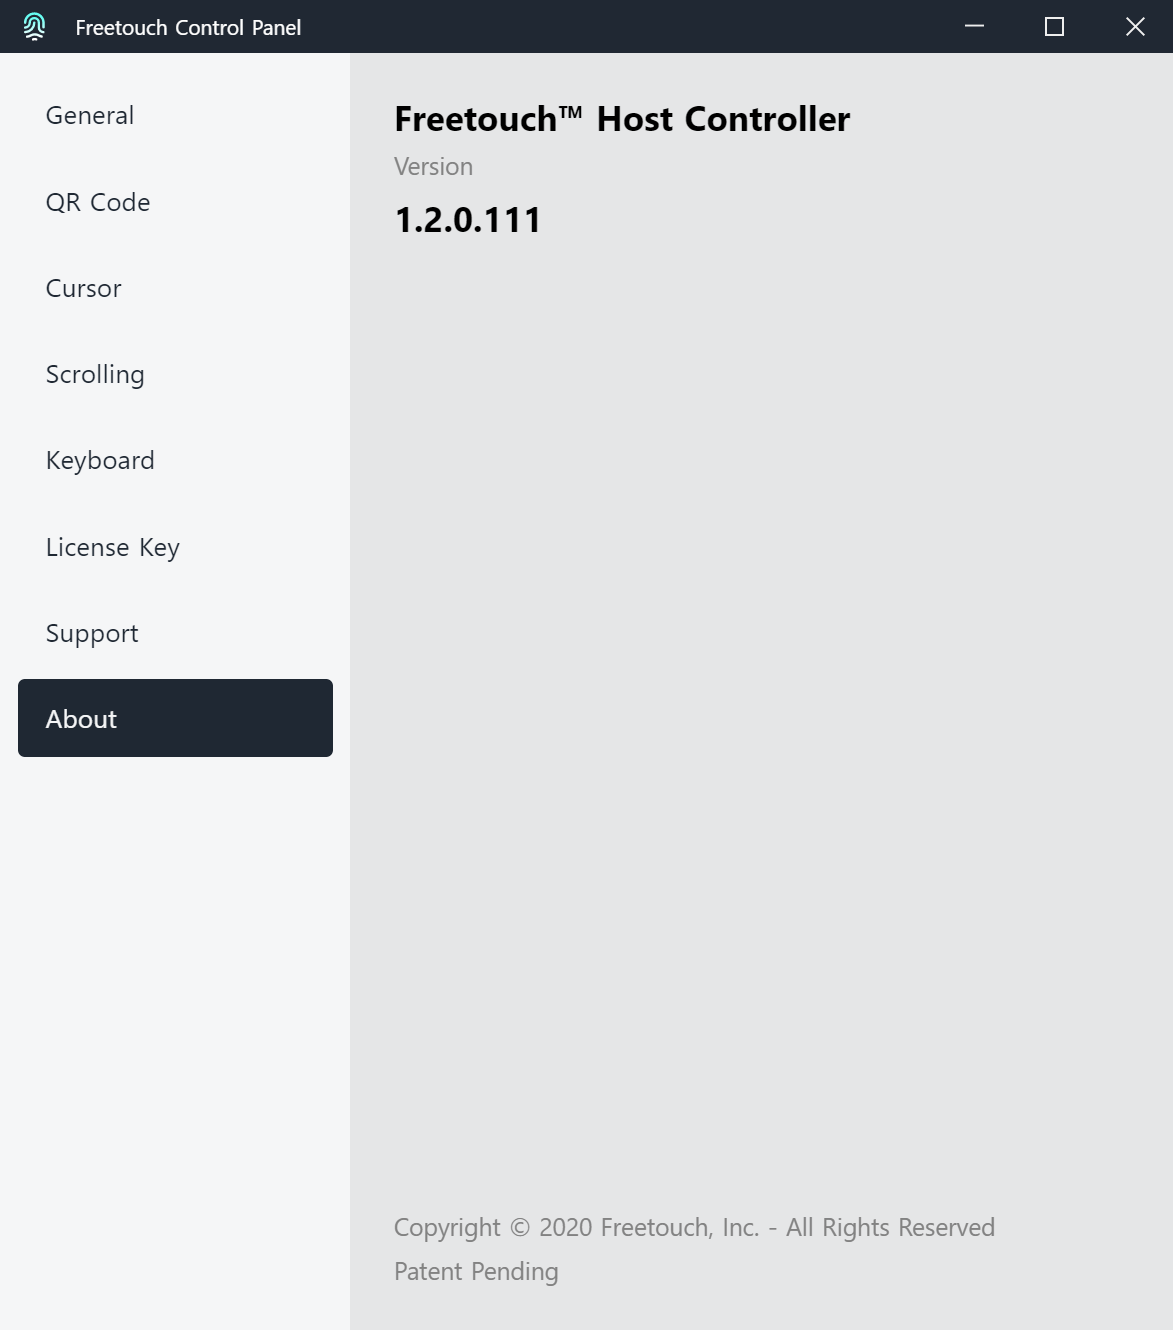
About
The About tab will display the version and copyright information of the Freetouch software.
Comments
0 comments
Article is closed for comments.